Choppa Tools Choppa Tools

7 Best Ways to Free a Seized Suspension Bolt?

Time:2026-09-28 Author:Ethan
0%

A seized suspension bolt can turn a routine repair into a long afternoon. Rust often locks the bolt to an inner sleeve, especially around older control arms exposed to road salt and water. The head may look clean while the hidden section refuses to move. That is why knowing how to free a seized suspension bolt matters before force damages nearby parts.

Start with careful inspection, solid vehicle support, and the service information for your vehicle. The right method depends on the bolt, bushing, and surrounding components. Penetrating oil and patient soaking may help. So can cleaning exposed threads, applying controlled impact, or turning the bolt slightly in both directions. Small movements count. Heat, cutting, or a puller may be needed in stubborn cases, but each carries risks. Bushings, brake lines, fuel lines, and wiring can be damaged quickly by careless heat or tool placement.

This guide compares seven practical approaches, from gentle preparation to last-resort removal. It also explains when repeated hammering is making things worse. Not every trick works. Some bolts are effectively bonded to their sleeves, and admitting that early can save time and parts. Follow the manufacturer’s procedure, replace damaged hardware with the specified grade, and ask a qualified technician for help if the suspension cannot be secured safely. A stuck bolt is frustrating, but a rushed repair can compromise steering or handling.
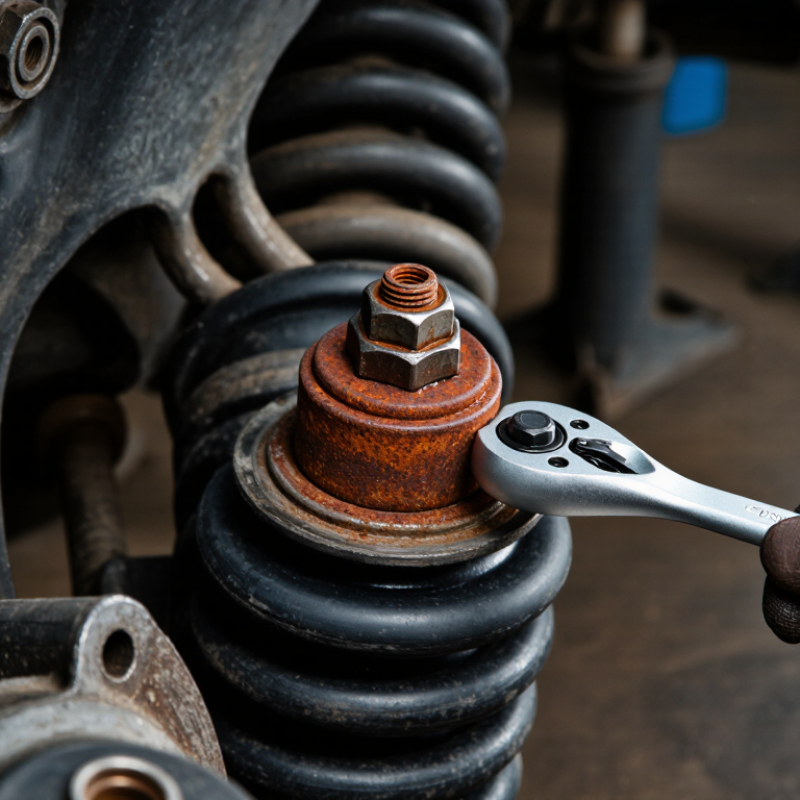
7 Best Ways to Free a Seized Suspension Bolt?

Understanding Why Suspension Bolts Seize

A suspension bolt rarely seizes for one reason. Water and road salt can work into threads, seams, and the gap around a bushing. As steel corrodes, rust can build up and bind the bolt to nearby metal. Salt makes it worse. AAA reported in 2017 that road-salt corrosion costs U.S. drivers an estimated $15.4 billion in vehicle repairs each year. That figure covers vehicle corrosion broadly, not suspension bolts alone. Still, it shows how persistent exposure can damage metal parts over time.

The location of the seizure matters. On many control arms, a bolt passes through a metal sleeve inside a rubber bushing. Corrosion may lock the sleeve to the bolt, even when the visible threads look clean. Heat cycles, moisture, damaged coatings, and contact between dissimilar metals can all contribute. NACE International’s 2016 IMPACT study estimated the global cost of corrosion at $2.5 trillion, or about 3.4% of global GDP; it does not measure suspension hardware specifically. It is tempting to blame rust alone, but that explanation is incomplete. A bolt may bind inside a sleeve, at its threads, or at both points. A small gap can hide a stubborn problem.

Preparing the Vehicle and Tools Safely

Before loosening a seized suspension bolt, park on firm, level ground and switch off the engine. Keep the vehicle away from moving traffic; NHTSA estimated 42,795 U.S. traffic deaths in 2022, underscoring the danger of roadside exposure. Chock the wheels that remain on the ground. Check the vehicle’s service manual for approved lifting points, then use a properly rated jack and support stands. Never work beneath a vehicle held only by a jack. Give the car a firm stability check before reaching underneath.

Gather eye protection, gloves, a wire brush, penetrating oil, and a correctly sized six-point socket. A breaker bar can provide controlled leverage, but keep your body clear of its path if the fastener suddenly releases. Inspect nearby brake hoses, wiring, fuel lines, and rubber bushings before applying force or considering heat. Do not use heat near flammable materials. A small detail is easy to miss: suspension parts can shift when a bolt comes free. Support the relevant component as specified by the service procedure. Even careful preparation can overlook something, so pause and recheck the supports, tool fit, and work area before starting.

7 Best Ways to Free a Seized Suspension Bolt? — Preparing the Vehicle and Tools Safely

Estimated preparation time for each step. Actual time varies by vehicle and conditions; follow the vehicle manual and the instructions for any products used. Never work beneath a vehicle supported only by a jack.

Loosening the Bolt with Penetrating Oil and Hand Tools

A seized suspension bolt often resists because rust has bonded its shank to the sleeve or bracket. S&P Global Mobility reported that the average age of U.S. light vehicles reached 12.6 years in 2024. That figure does not measure seized bolts, but older underbody hardware has often faced years of moisture, road salt, and heat cycles.

Park on firm, level ground, chock the wheels, and support the vehicle with properly placed jack stands. Brush loose rust from the exposed threads, then apply penetrating oil where the bolt enters the joint. Follow the product label and give it time to work; one quick spray may not reach the hidden contact surfaces. Keep oil off brake friction parts and rubber components where possible. A small drip matters.

Use a correctly sized six-point socket and a hand ratchet to test the bolt gently. If it moves, work it back and forth in small increments, adding oil as needed. Avoid leaning hard on a long handle; sudden force can round the head or damage nearby parts. Stop if the bolt twists, the socket slips, or the bushing starts to deform. Patience helps, but it is not magic. Some joints need a mechanic’s assessment.

7 Best Ways to Free a Seized Suspension Bolt? - Loosening the Bolt with Penetrating Oil and Hand Tools

Method Hand Tools and Supplies How to Do It Typical Wait or Effort Important Caution
1. Clean exposed threads Hand wire brush, pick, safety glasses Brush away loose rust and dirt from the bolt threads and the area around the nut before applying penetrant. A few minutes Avoid damaging nearby rubber boots, brake hoses, or wiring.
2. Apply penetrating oil Penetrating oil, safety glasses, cloth Apply it to the exposed threads and both sides of the joint where accessible. Let it wick into the corrosion rather than immediately forcing the bolt. Follow the product label; several hours or repeated applications may be needed. Keep oil off brake friction surfaces and tires. Penetrant may not reach corrosion inside a bonded bushing sleeve.
3. Reapply and allow soak time Penetrating oil, cloth Apply another light coating after the first soak. If practical, leave the joint undisturbed and try again later instead of increasing force immediately. One or more soak cycles Soaking can help with threaded corrosion, but it is not a guarantee when the bolt is seized to an inner sleeve.
4. Use a correctly sized six-point socket Six-point socket, ratchet or breaker bar Seat the socket fully on the fastener and apply smooth, controlled force. A six-point socket grips the flats and is less likely to round a stubborn bolt head or nut than a loose-fitting tool. Several controlled attempts Do not use an improvised extension or jump on the handle. Stop if the fastener begins to round or the tool slips.
5. Work the bolt back and forth Six-point socket, ratchet, penetrating oil Try a small loosening movement, then ease the bolt slightly back in. Repeat gradually, adding penetrant as needed, rather than forcing one continuous turn. A few minutes or longer, depending on corrosion Use modest movements. Excessive force can snap the bolt, damage threads, or distort suspension parts.
6. Relieve suspension bind Floor jack, rated jack stands, hand tools Support the vehicle securely and use a jack to adjust the suspension slightly so the joint is not pulling sideways on the bolt. Keep hands clear of pinch points while checking whether the bolt turns more freely. A few careful adjustments Never work under a vehicle supported only by a jack. Follow the vehicle’s lifting and support guidance.
7. Stop before the bolt breaks Six-point socket, inspection light If the bolt twists noticeably, the head or nut starts to deform, or the joint remains immovable after reasonable soaking and controlled effort, stop and reassess the repair. As soon as warning signs appear A bolt seized inside a suspension bushing sleeve may require component replacement or professional extraction; forcing it can make the repair more difficult.

Safety note: Wear eye protection, use correctly rated vehicle supports, and follow the vehicle service procedure for final fastener installation and torque.

Escalating to Heat, Impact, or Cutting Methods

When a suspension bolt refuses to move, identify why before escalating. Often, rust has bonded the bolt to the metal sleeve inside a rubber bushing. The bolt may turn with its head but still trap the sleeve. Support the vehicle securely on rated stands, chock the wheels, and check nearby brake hoses, wiring, and fuel lines before applying force.

Use a correctly sized six-point socket and controlled impact, starting gently. A sudden, heavy hit can round the head or damage surrounding parts. If the bolt remains stuck, heat may help—but keep flame and high temperatures away from rubber, fuel, undercoating, and brake components. A controlled heater is safer when access allows. Follow the vehicle’s service guidance. Stop if unsure. Heat can solve one problem and create another.

Cutting is often the last resort. A reciprocating saw with a suitable metal-cutting blade can sever the bolt between the bushing sleeve and bracket. Work slowly; the bracket is easy to nick, especially in cramped wheel wells. Wear eye protection, and account for the blade’s path before cutting. Replace damaged bolts and nuts with correct-grade hardware, then tighten suspension fasteners at the specified ride height when required. It is tempting to rush this step. Don’t.

Inspecting and Replacing the Bolt Before Reassembly

Before reassembly, clean the bolt with a wire brush and inspect it under a bright light. Look closely. Check for bent shanks, stretched sections, deep rust pits, damaged threads, or polished grooves where the bolt contacted a seized sleeve. A bolt can look usable at a glance and still be weakened. If it is bent, badly corroded, or its threads are damaged, replace it with the correct type and grade.

Inspect the bushing sleeve and the mounting holes, too. A sleeve that has seized to the bolt may be split, distorted, or bonded to the rubber; forcing it out can damage nearby parts. Check the bracket for cracks or enlarged holes, and replace a worn bushing rather than tightening everything against a damaged part.

I used to think clean threads meant a bolt was fine. That is not always true.

Compare the replacement with the original for length, shoulder position, and diameter. During installation, support the suspension as specified for the repair, align the components without hammering the new bolt into place, and tighten it to the vehicle’s service-manual specification. Do not guess. Recheck that the joint moves as intended before lowering the vehicle.

FAQS

Why does a suspension bolt seize?

Moisture and road salt can corrode the bolt, threads, bracket, or inner bushing sleeve. Rust is not the whole story.

Can a bolt seize even when its threads look clean?

Yes. A metal sleeve inside a rubber bushing can rust tightly around the bolt, hidden from view.

What should I check before lifting the vehicle?

Park on firm, level ground, chock the wheels, and follow the service manual’s lifting points. Use rated jack stands, never a jack alone. Pause and check.

Which tools are useful for a seized bolt?

Wear eye protection and gloves. A wire brush, penetrating oil, and correctly sized six-point socket can help. A breaker bar offers leverage, but sudden release can be hazardous.

How should I apply penetrating oil?

Brush away loose rust, then apply oil where the bolt enters the joint. Follow the label and allow time for it to reach hidden surfaces. One spray may not be enough.

How can I try loosening the bolt by hand?

Test it gently with a hand ratchet. If it moves, work it back and forth in small increments and add oil as needed. Patience helps, but it is not magic.

When should I stop trying?

Stop if the bolt twists, the socket slips, or the bushing deforms. Forcing it may damage nearby parts. A mechanic may need to assess the joint.

What nearby parts need protection?

Check brake hoses, wiring, fuel lines, and rubber bushings before applying force. Keep oil away from brake friction parts and rubber where possible. Small drips matter.

Conclusion

A seized suspension bolt can be difficult to remove because rust, corrosion, and pressure between suspension components may lock it in place. Before starting, park the vehicle on a stable, level surface, support it securely with suitable stands, and gather the necessary hand tools and protective equipment. Understanding how the bolt is trapped can help you choose a safer approach and avoid damaging nearby parts.

To learn how to free a seized suspension bolt, begin by applying penetrating oil and allowing time for it to work, then try controlled force with appropriate hand tools. If the bolt remains stuck, carefully consider escalating to impact methods, heat, or cutting, taking precautions to protect surrounding components and reduce fire or injury risks. Once removed, inspect the bolt and related parts for wear or damage, replace anything unsuitable for reuse, and reassemble the suspension securely. When the job exceeds your tools or experience, seek help from a qualified mechanic.

Ethan

Ethan

Ethan is a seasoned marketing professional with a deep expertise in our company's innovative product line. With a passion for sharing knowledge and insights, he takes the lead in regularly updating our corporate blog, where he explores industry trends, product features, and effective marketing......